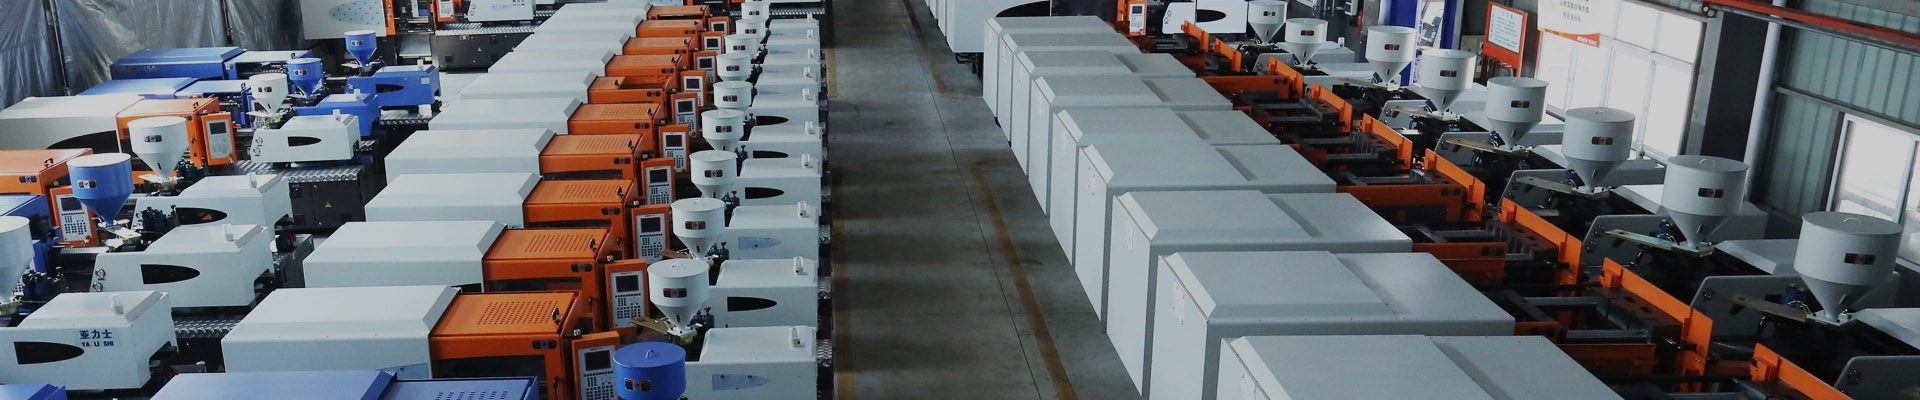
How to Remove Extruder Screw from Barrel Cleaning and Inspection Tips
How to Remove Extruder Screw from Barrel Cleaning and Inspection Tips


Clean the screw and barrel before assessing wear and clearance: deposits can hide surfaces needed to decide whether reinstallation is appropriate. Their condition records wear that production readings alone cannot explain. The machine drawing establishes the removal space and support arrangement. Keep the process complaint beside the recorded physical findings when interpreting an inspection. Disassembly follows the equipment manual throughout. Record complaints and defects preventing reinstallation.
Before the Extruder Screw Comes Out
Record Production Conditions and Purge
Record resin, last stable output, and reason for removal on the shutdown sheet. Empty the feed system before the approved purge. The resin, die, and screw finish must suit the purge compound. A purge compound’s processing temperature does not authorize that temperature for screw extraction. Residue can obstruct extruder screw extraction.
Verify Isolation and Arrange Support
Before opening the extruder assembly, follow plant procedures and verify isolation of electrical, hydraulic, pneumatic, and stored mechanical energy. Arrange handling for the die and adapter beforehand. Plan where each exposed section will rest; the support arrangement must accommodate the increasing unsupported shaft length. Label removed components and their orientation. The manual must settle the drive connection, tip arrangement, extraction direction, permitted heat, and lifting points. A lifting method from another line may not fit this installation. Check its connections, weight, and access against the equipment procedure.
How to Remove an Extruder Screw from the Barrel
Clear the Discharge Path and Disconnect the Drive
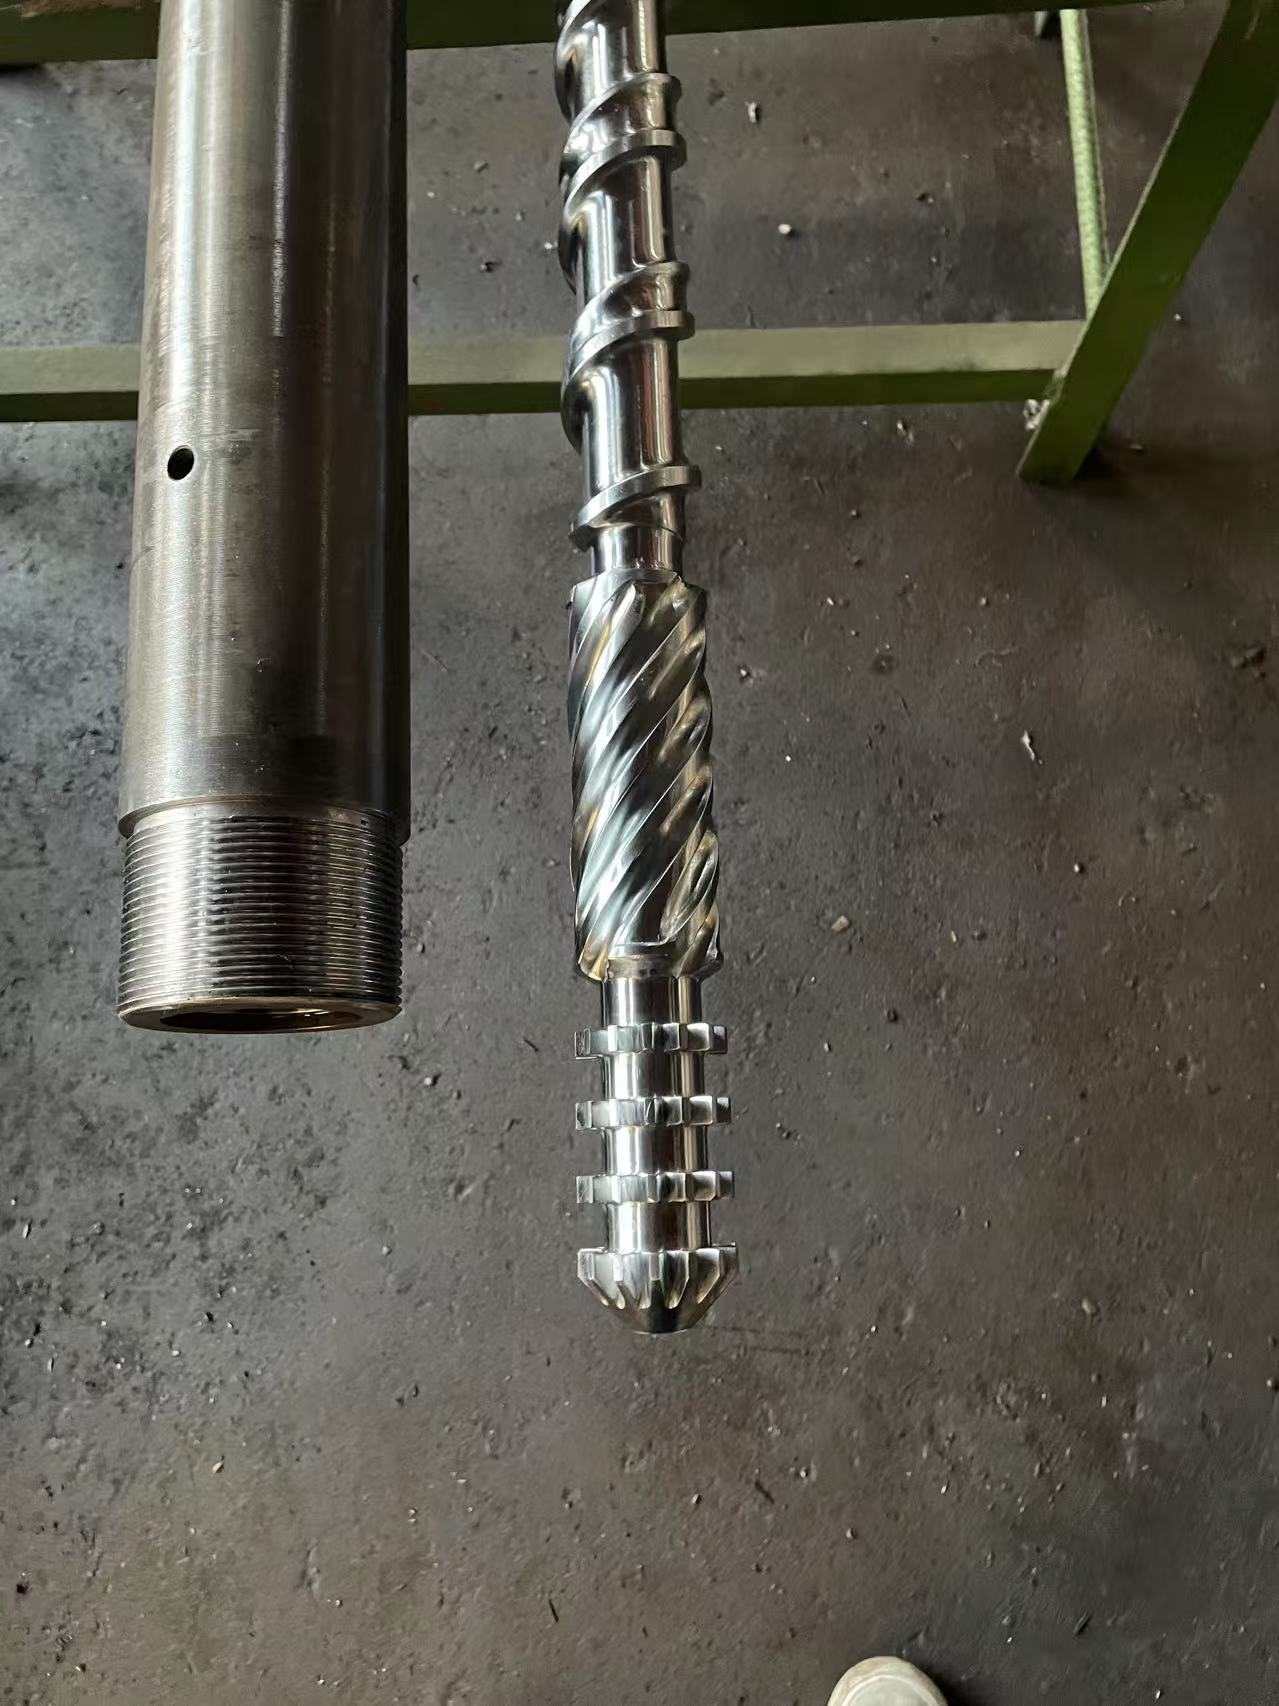
Plan removal of the die, adapter, breaker plate, and screens according to the equipment instructions, then check discharge clearance against screw length. Protect exposed mating faces. Release the drive connection using the machine-specific procedure. Confirm thread direction and release torque from the equipment instructions before applying force. The extruder screw removal guide gives a fuller sequence, while the installed equipment procedure remains the final reference.
Extract in Stages Without Loading the Flights
Keep the extraction fixture on the barrel axis and give the emerging shaft support before it can sag. Clean loose polymer from each newly exposed section near the opening, without dragging tools over the bore lip. Stop at uneven travel; mark where the screw stopped moving. Check fixture alignment, released connections, temperature, and visible deposits against the equipment procedure. Until the obstruction is identified, force could damage the shaft or flight edges. Leave the stopping position identified after extraction resumes; check that location for surface damage.
Clean the Screw and Barrel Without Hiding Damage
Remove Polymer From the Screw Surface
Clean the supported screw’s shank and keyways or splines. Arrange access to the flight sides and roots while the shaft remains supported. First note where resin has hardened, particularly near mixing features and the drive end. The tool choice follows the residue and surface treatment. Use copper or brass tools wherever specified. Steel scrapers can damage the metal under residual polymer. Frame the deposit and surrounding geometry together.
Clean the Bore and Preserve Inspection Evidence
Brush residue out of the barrel with a non-damaging tool and collect it at the opening. Then examine the cleaned barrel interior, feed throat, and rear bushing with a borescope, recording deposits by axial location, including the discharge end. Include the adapter seat when cleaning. Only a clean surface permits useful visual checks and bore measurements. Mark discoloration or roughness by its position after cleaning. The screw and barrel wear check shows why a clean appearance should lead to measurements, rather than close the maintenance job.
Inspect Wear After Extruder Screw Removal
Compare Flight and Barrel Measurements With a Baseline
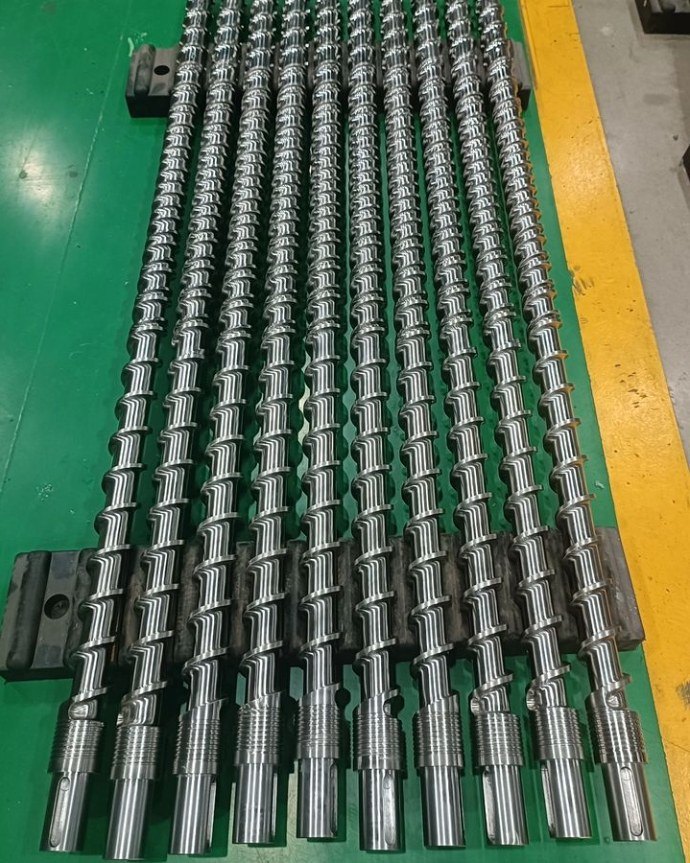
Record flight outside diameter along the screw beside barrel inside diameter at corresponding positions. A diameter without a location cannot support an inspection. State the accepted baseline: the original drawing or the previous inspection record. Flight diameter loss and bore enlargement increase clearance. An output decrease at the same screw speed is a reason to check dimensions. Confirmation of progressive wear needs those measurements, beyond symptoms. Take dimensional readings at room temperature, using the original bore dimension to calibrate the measuring device. Plot measured bore diameter by documented axial position against the accepted original baseline.
Match Surface Damage to Measured Wear
Check the edges and roots of the flight for scoring, chips or cracks — also in channels between screws (including screw tip) as well as drive connection that need to be documented. Identifying scratch marks on screw & barrel vs. flight micrometer paired with matching bore-gauge readings; depths of some scratches show contact when diameter measurements seem OK. Retain both findings. Clearance fit of screw, concentricity, surface hardness, and dimensional accuracy (using coordinate measuring equipment along with bore gauges and hardness testers) are all inspected before acceptance for the profile. We also check bind at barrel or relieved areas to ensure smooth rotation between screw & barrel fitting as well.
Decide Whether to Reinstall, Repair, or Replace
Distinguish Removable Deposits From Structural Damage
If deposits were the only finding, keep cleaning and reassembly records alongside documented measurements showing that the machine’s accepted dimensional limits are met. For a changed flight profile or channel, specify the required geometry first. Surface treatment follows that assessment of damage. CHUANGRI SCREW offers worn screw repair, with on-site measurement, design, modification, and customization for plastics machinery components. The flight profile, root and channel geometry, surface finish, and dimensional relationship determine what restoration must achieve. These requirements guide our machining: CNC turning, thread milling, grinding, and polishing. Specify the restored geometry before approving the repair work.
Check the Repair Before Restarting Production
• Assess repair suitability from dimensions, material condition, structural integrity, the mating barrel, and operating conditions. A coating cannot resolve cracking, corrosion, or structural damage.
• Select treatment for the resin, fillers, corrosion exposure, temperature, and wear mechanism: nitriding, bimetallic treatment, hardening, or alloy coating.
• After machining/treatment, compare fit, clearance/concentricity/hardness/sizes, and smooth rotation as per approved specifications. Post weld/coating inspection — completion of the process is no guarantee of acceptance prior to replacing a pelletizing single screw, ensure the dimensions and application matches that of the machine as well as its mating barrel.
FAQ
Q: How do you remove an extruder screw from a barrel safely?
A: Confirm the installed arrangement against the machine manual first. The removal path must accommodate the shaft and its supports. Confirm drive release and complete the plant isolation checklist before extraction begins. Uneven movement with the extraction fixture calls for investigation.
Q: Should an extruder screw be hot or cold when removed from the barrel?
A: The permitted condition depends on the installed extruder. Check the last resin, deposit condition, and screw surface against the manufacturer’s method before choosing the permitted removal temperature. Confirm the allowed condition in the machine and material instructions.
Q: What tools should be used to clean an extruder screw after removal?
A: Match tools to the residue and surface treatment. Use copper or brass tools when specified; a steel blade may scratch the underlying surface. Check compatibility for solvent cleaning, abrasives, and heat treatment.
Q: How can screw and barrel wear be checked after removal?
A: Make a location map first. Compare flight outside diameter and barrel inside diameter with an accepted baseline, using documented positions that permit repeat measurements. Record scoring, cracks, corrosion, and coating loss at each mapped position.
Q: Can a worn extruder screw be cleaned and reinstalled without repair?
A: Cleaning may be sufficient for residue. The decision needs evidence that the parts satisfy the machine’s acceptance criteria. Reinstallation requires screw and barrel measurements together with surface inspection and structural assessment. Cleaning will not replace lost flight material or close a crack; either finding needs a repair or replacement assessment before restart.

 consult
 WHATSAPP
 leave message
 top