How to Remove an Extruder Screw From a Barrel: 5 Fast & Safe Steps
Related news
How to Remove an Extruder Screw From a Barrel: 5 Fast & Safe Steps


Knowing how to remove an extruder screw correctly helps prevent bent shafts, barrel damage, and exposure to hot polymer. Safe removal depends on purging, temperature control, alignment, and support. Always follow the machine manual and plant safety rules.
When Should You Remove an Extruder Screw From the Barrel?
Production Problems That May Require Extruder Screw Removal
Removal may be necessary when production problems continue after normal adjustments. Common warning signs include:
*Lower output at the same screw speed
*Unstable melt pressure or temperature
*Recurring black specks
*Difficult material or color changes
*Unusual torque, vibration, or noise
*Suspected screw or barrel wear
Feeding problems, heater faults, blocked screens, or incorrect settings can produce similar symptoms, so check them before a complete screw pull.
When Purging Is Enough and When a Screw Pull Is Necessary
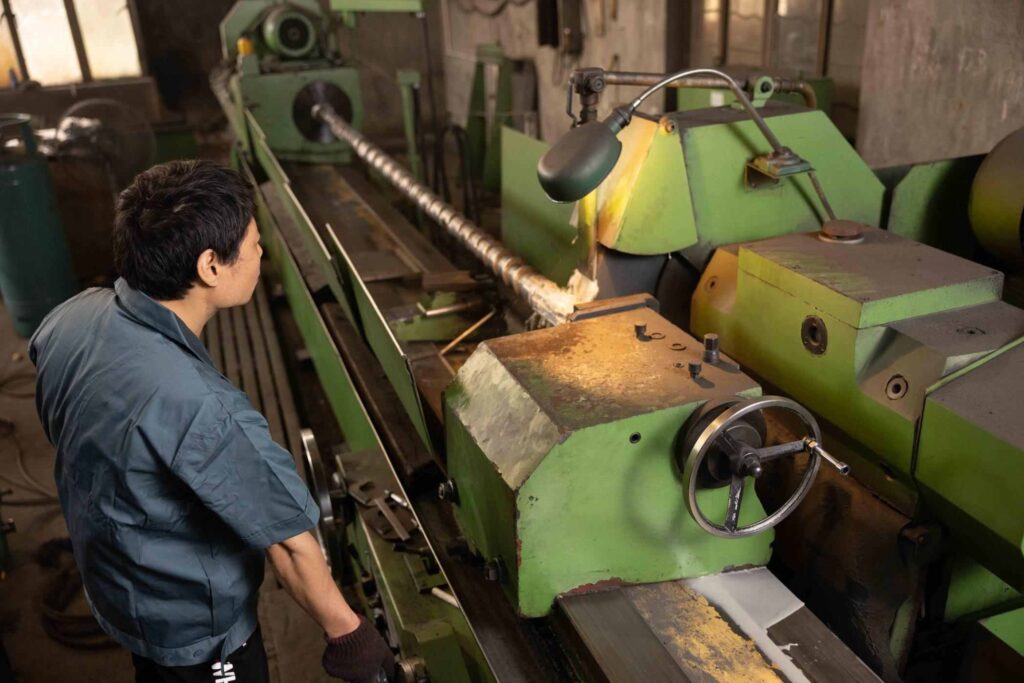
Purging is usually enough for resin changes and light contamination. Remove the screw when carbonized material remains, contamination returns, or dimensions must be measured. Purge to restore flow; remove to inspect mechanical condition.
What Tools and Safety Checks Are Needed Before Screw and Barrel Disassembly?
Lockout Tagout, PPE, and Machine-Specific Instructions
Complete purging while the screw can still rotate. Then isolate electrical, hydraulic, pneumatic, and thermal energy under the plant’s lockout/tagout procedure.
Use heat-resistant gloves and eye protection. Release stored pressure before opening the die head or adapter. An emergency stop alone is insufficient because heaters and hydraulic pressure may remain active.
Extruder Screw Pullers, Hoists, Supports, and Cleaning Tools
Prepare:
*A hydraulic or mechanical screw extractor
*An approved hoist and rated lifting straps
*Padded V-blocks or screw stands
*Alignment markers
*Brass scrapers and copper brushes
*Micrometers and barrel bore gauges
Match the lifting method to the screw’s weight and length. Long screws need several support points.
How to Remove an Extruder Screw From a Barrel in 5 Fast and Safe Steps
Step 1: Purge Residual Polymer and Stabilize the Barrel Temperature
Select a Purge Material That Matches the Process Resin
Use a purge compound or transition resin compatible with the production material and processing range. PVC, PE, PP, PET, engineering plastics, and highly filled compounds should not share one universal purge method.
Remove as much residue as possible before shutdown so it cannot cool and lock the screw in place.
Keep the Barrel Evenly Warm Without Using an Open Flame
Keep the barrel warm enough to stop remaining polymer from becoming fully solid. The correct temperature depends on the resin and machine instructions.
Use the installed heaters. Never use a torch or concentrated flame because local overheating can distort the barrel and damage treated surfaces.
Step 2: Lock Out the Extruder and Remove Front-End Components
After purging, stop the screw, isolate all energy sources, and verify a zero-energy condition.
Remove all parts blocking the extraction path, including the die head, adapter, or breaker plate. Protect wires, thermocouples, threads, and sealing surfaces, and provide clearance for the screw’s full length.
Step 3: Disconnect the Drive Coupling and Mark Alignment Positions
Disconnect the gearbox coupling, retaining nut, spline, key, cooling union, and other drive-end parts according to the machine design.
Mark the original positions and photograph the sequence. Confirm that no retainer or cooling connection remains before applying force.
On a Pelletizing Single Screw, careful purging is especially important because recycled feedstock may leave mixed polymers, fillers, or degraded residue that increases extraction resistance.
Step 4: Push the Extruder Screw Out Slowly and Support Its Weight
Use Controlled Axial Force Instead of Hammering or Prying
Use the built-in extraction system or a suitable hydraulic screw puller. Apply force gradually along the screw centerline.
Do not hammer, pry, or push the screw with a forklift. These methods can damage the flights, barrel bore, and gearbox alignment. If force rises suddenly, check for cold polymer, hidden fasteners, or damage.
Support the Screw as Each Section Leaves the Barrel
Place padded supports beneath the screw as it emerges. Keep it level with the barrel centerline, and reposition supports as more of the screw becomes exposed.
Never rest a flight crest on concrete or steel. For a Parallel Twin-Screw Barrel, mark the phase and relative positions of both screws to prevent intermeshing damage.
Step 5: Place the Screw on a Protected Stand and Remove Residue
Place the screw on padded V-blocks. Remove soft residue with brass or copper tools, not hardened steel scrapers.
For storage, clean and dry the screw, apply protective oil, label it with machine information, and support its full length.
How Do You Remove a Stuck Extruder Screw Without Damaging the Barrel?
Identify Why the Extruder Screw Is Stuck
Common causes include cold polymer, carbon buildup, abrasive filler deposits, corrosion, hidden fasteners, damaged flights, or poor alignment.
Heavy resistance often indicates compacted material. A hard stop may indicate a retainer or damage, while scraping suggests metal contact.
Reheat the Barrel Evenly and Apply Controlled Axial Pressure
Warm the barrel gradually with the installed heaters. Allow heat to spread before applying moderate axial force again. Avoid heating only one narrow zone because uneven expansion may increase binding.
Know When to Stop the Screw Removal Procedure
Stop if the screw bends, force rises sharply, metal scraping appears, the gearbox moves, or the extractor loses alignment.
CHUANGRI SCREW can assess wear location, material history, and dimensions to determine whether repair, recoating, redesign, or replacement is appropriate.
How Does Extruder Screw Removal Differ by Machine Type?
Single-Screw Extruder Screw Removal
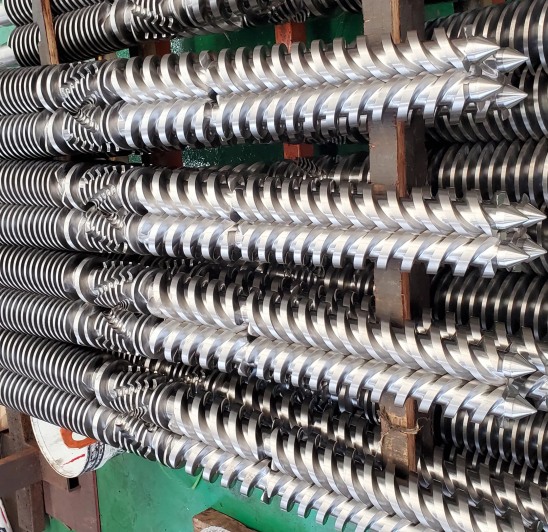
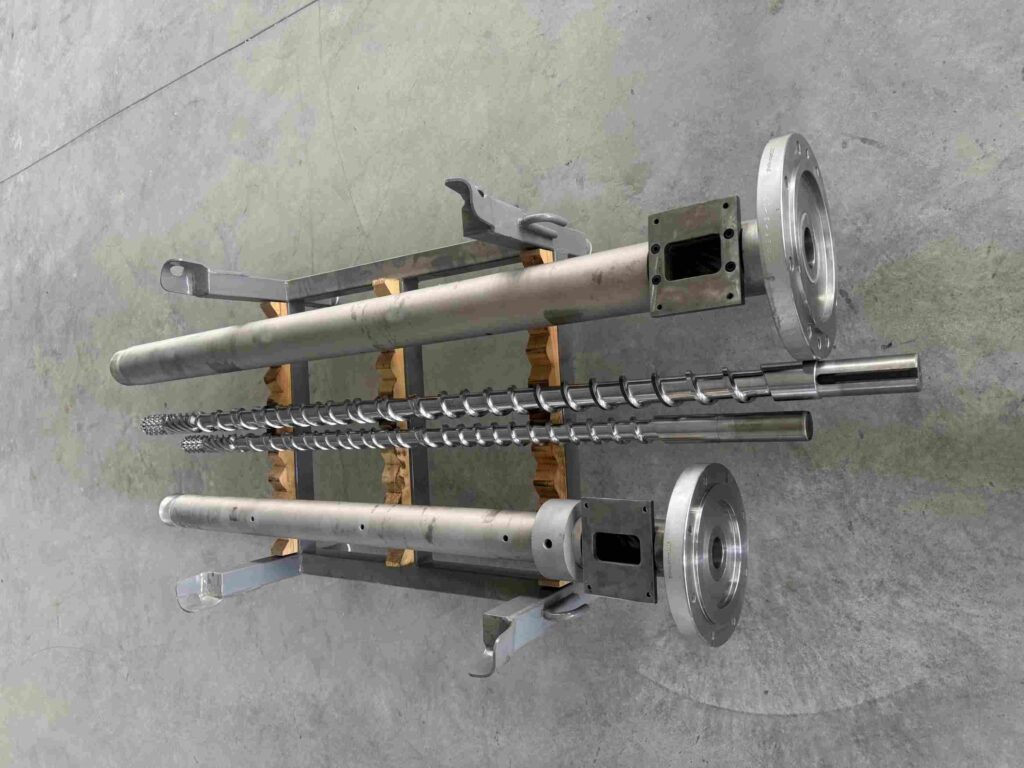
A single screw is normally removed through the discharge end after releasing the tooling and drive. Main risks include unsupported weight, damaged flights, and hardened residue.
The Pelletizing Single Screw may process PE, PP, PVC, ABS, PET, PA, and other plastics, so the purge method should follow the line’s actual material history.
Parallel and Conical Twin-Screw Removal
Twin-screw systems require controlled orientation, phasing, and synchronized support. Intermeshing screws should not be rotated or pulled independently unless the machine procedure permits it.
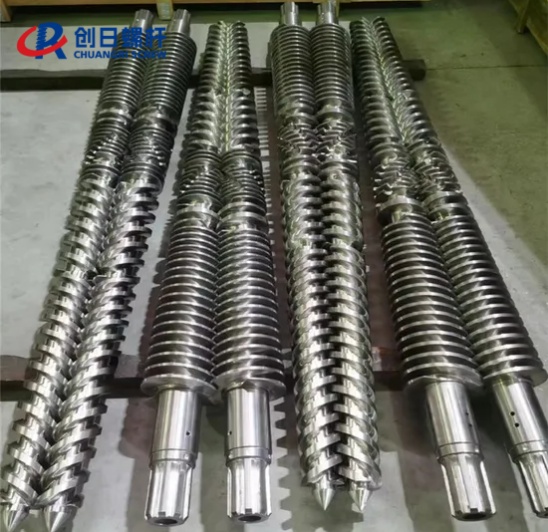
The PVC Conical Twin-Screw Barrel has tapered geometry, so its dismantling sequence differs from that of a parallel system. The screw pair and drive must remain coordinated.
What Should You Inspect Before Reinstalling the Extruder Screw?
Inspect Screw Flights, Root Diameter, Coatings, and Straightness
Check for rounded flight crests, scoring, corrosion, cracks, coating loss, and visible bending. Inspect the feed, compression, metering, and mixing sections separately.
A Bimetallic Screw should be checked carefully for damage to its alloy-protected surfaces. Loss of the wear-resistant layer can expose the base material to faster abrasion.
Measure the Barrel Bore and Screw-to-Barrel Clearance
Measure screw OD and barrel ID at matching L/D positions, then compare the results with drawings or earlier records.
CHUANGRI SCREW checks clearance, concentricity, hardness, and dimensions during manufacturing. The same approach helps maintenance teams choose polishing, repair, recoating, or replacement.
Check Alignment and Complete a Controlled Restart
Clean the barrel bore, align the screw and coupling, and reconnect heaters, sensors, cooling lines, and front-end parts.
Restart at an approved low speed. Monitor torque, temperature, noise, and possible metal contact before returning to full production.
FAQ
Q: How do you remove an extruder screw safely?
A: Purge the resin, keep the barrel evenly warm, complete lockout/tagout, disconnect the front and drive components, and use a controlled extractor with continuous support.
Q: How do you remove a stuck extruder screw?
A: Check for hidden fasteners, cold polymer, deposits, and misalignment. Reheat the barrel evenly and apply gradual axial pressure without hammering or prying.
Q: Should the barrel be hot when removing an extruder screw?
A: It should remain warm enough to soften residual polymer. The correct temperature depends on the material and equipment manual.
Q: Can you use a hammer to remove an extruder screw?
A: No. Hammering may damage the screw flights, barrel bore, drive connection, and gearbox alignment.
Q: How often should you remove an extruder screw for inspection?
A: Base the interval on production hours, filler content, processed materials, torque trends, contamination frequency, and previous wear measurements

 consult
 WHATSAPP
 leave message
 top
top